When a metal part cracks, strips, or pits, cold weld epoxy is often the fastest way to rebuild the damaged area without heat distortion. But the question that decides whether the repair lasts is not just what product you use. It is when you machine it. Drill or tap too early and the epoxy can tear, smear, or pull out of the cavity.
This guide gives a practical timing framework for drilling and tapping cold weld epoxy at different temperatures, plus a field checklist you can use before putting a bit into the repair.
The practical answer first
If you need a simple rule for planning:
- Below 50°F (10°C): wait 24 to 48 hours before light drilling, and often longer before tapping threads.
- 60 to 70°F (16 to 21°C): light drilling is often possible around 12 to 24 hours.
- 75 to 85°F (24 to 29°C): many systems are machinable sooner, often around 6 to 12 hours.
- For tapping, heavy cutting, or tight tolerance work: full cure is safer, typically close to 24 hours at room temperature.
Always confirm with your product TDS because filler type and resin chemistry change timing.
Understand the four cure stages
Cold weld epoxies do not jump from wet to fully strong. They pass through stages:
1) Open time: the working window after mixing. Viscosity rises quickly near the end.
2) Set time: material is no longer fluid, but internal strength is still developing.
3) Handling cure: surface feels hard, but deeper sections may still be green.
4) Full cure: final mechanical and chemical resistance is close to specification.
Most machining failures happen when people mistake handling cure for full cure.
Why temperature changes machining readiness so much
Epoxy cure is a chemical reaction, so it slows down in cold conditions and accelerates in warmer conditions. The relationship is not perfectly linear, but in real shop practice:
- Cooler substrate and ambient air both slow cure.
- Large metal parts act like heat sinks and delay through-cure.
- Thicker repairs can cure faster in the core if exotherm builds, but surface hardness may still mislead you.
- High humidity and condensation on metal can weaken the bond interface even if the bulk epoxy feels hard.
A better timing model than one fixed number
Instead of using one universal “wait 12 hours,” use three checkpoints:
- Checkpoint A: Light drilling (small bit, low feed, no thread load)
- Checkpoint B: Tapping (thread integrity matters, higher stress concentration)
- Checkpoint C: Service load (pressure, vibration, thermal cycle, fluid contact)
At 70°F, Checkpoint A may come much earlier than Checkpoint C. For mission-critical parts, schedule around Checkpoint C, not A.
Five readiness checks before drilling or tapping
Use this short pre-machining checklist:
- Thumbnail test: firm resistance with no surface smear.
- Sharp pick test: pick marks should chip cleanly, not drag gummy strings.
- Edge integrity: no lifting or soft feathering at repair margins.
- Temperature parity: repaired zone and base metal should be near shop temperature, not cold-soaked.
- Time margin: if in doubt, wait one more cure interval. Extra cure time is cheaper than rework.
How to drill cold weld epoxy without tearing the repair
Machining method matters almost as much as cure time:
- Start with a center punch mark if geometry allows, so the bit does not walk.
- Use a sharp bit and moderate speed. Dull bits generate heat and can soften partially cured epoxy locally.
- Use light feed pressure at entry.
- Peck drill for deeper holes to reduce heat buildup.
- Deburr gently. Aggressive countersinking can chip edges if cure is incomplete.
How to tap threads in repaired epoxy zones
Tapping demands stronger internal cure because thread roots create stress risers. For better thread quality:
- Drill the correct pilot size. Undersized pilot holes raise radial stress and crack risk.
- Use a sharp tap, square alignment, and controlled torque.
- Back off frequently to clear chips.
- For high-load fasteners, consider inserts or a larger thread class rather than relying on minimal wall thickness.
If the tap produces stringy swarf instead of crisp chips, stop and allow more cure time.
Common causes of “it felt hard but failed during tapping”
- Incorrect mix ratio by eye instead of measured proportion.
- Incomplete mixing in cup corners.
- Cold substrate below expected cure range.
- Oil contamination in pores around the repair zone.
- Overheating from high-speed drilling.
For wholesalers and repair distributors: what buyers ask most
B2B customers usually ask the same three timing questions: “When can I drill?”, “When can I tap?”, and “When can I return to service?” If you supply cold weld epoxy in bulk, conversion improves when you provide a clear cure-time chart by temperature with these three checkpoints separated.
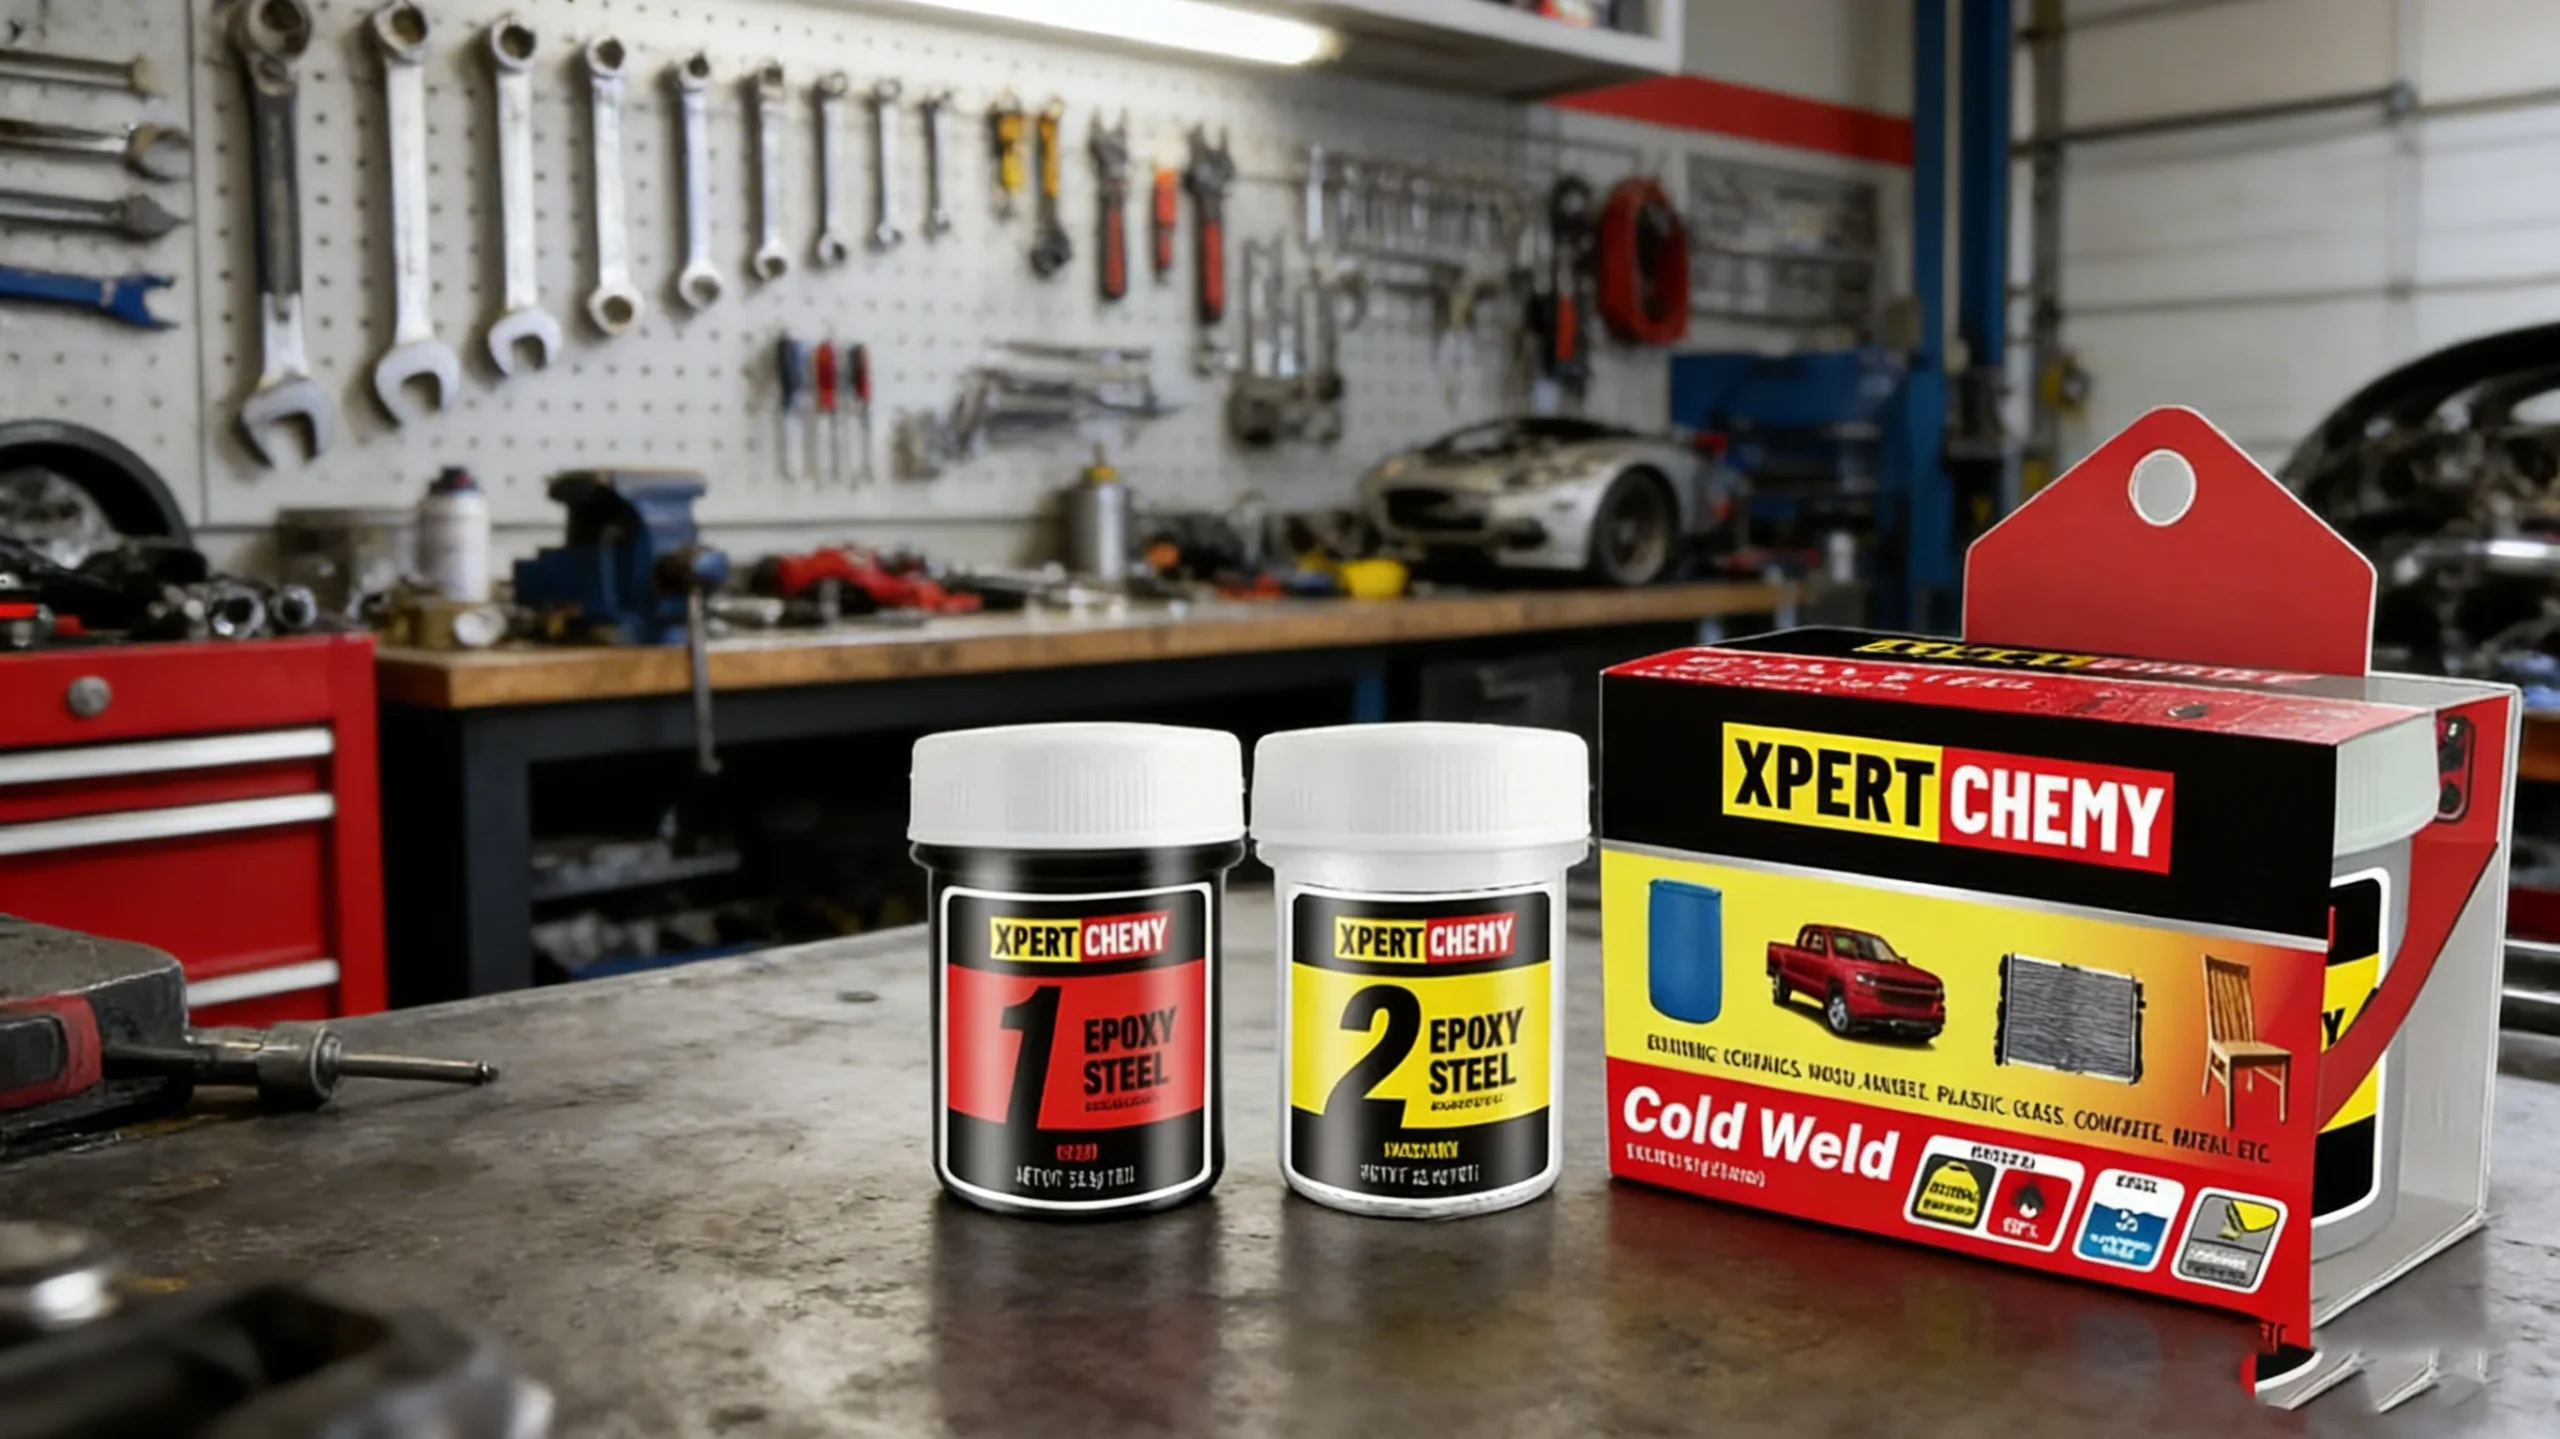
For XPERTCHEMY® Cold Welding Epoxy Grey projects, you can support buyers with application notes, TDS/SDS documentation, and process recommendations by climate and substrate type. That reduces claim risk and repeat-failure complaints.
Final takeaway
The safe drill/tap window is temperature-dependent and application-dependent. Use temperature-aware timing, verify real hardness in the repair zone, and machine with controlled heat and feed. In field repair, waiting a little longer before tapping is usually the highest-ROI decision you can make.
If you need a material for this exact workflow, see our cold weld epoxy for drill-and-tap repairs for metal rebuild applications.